


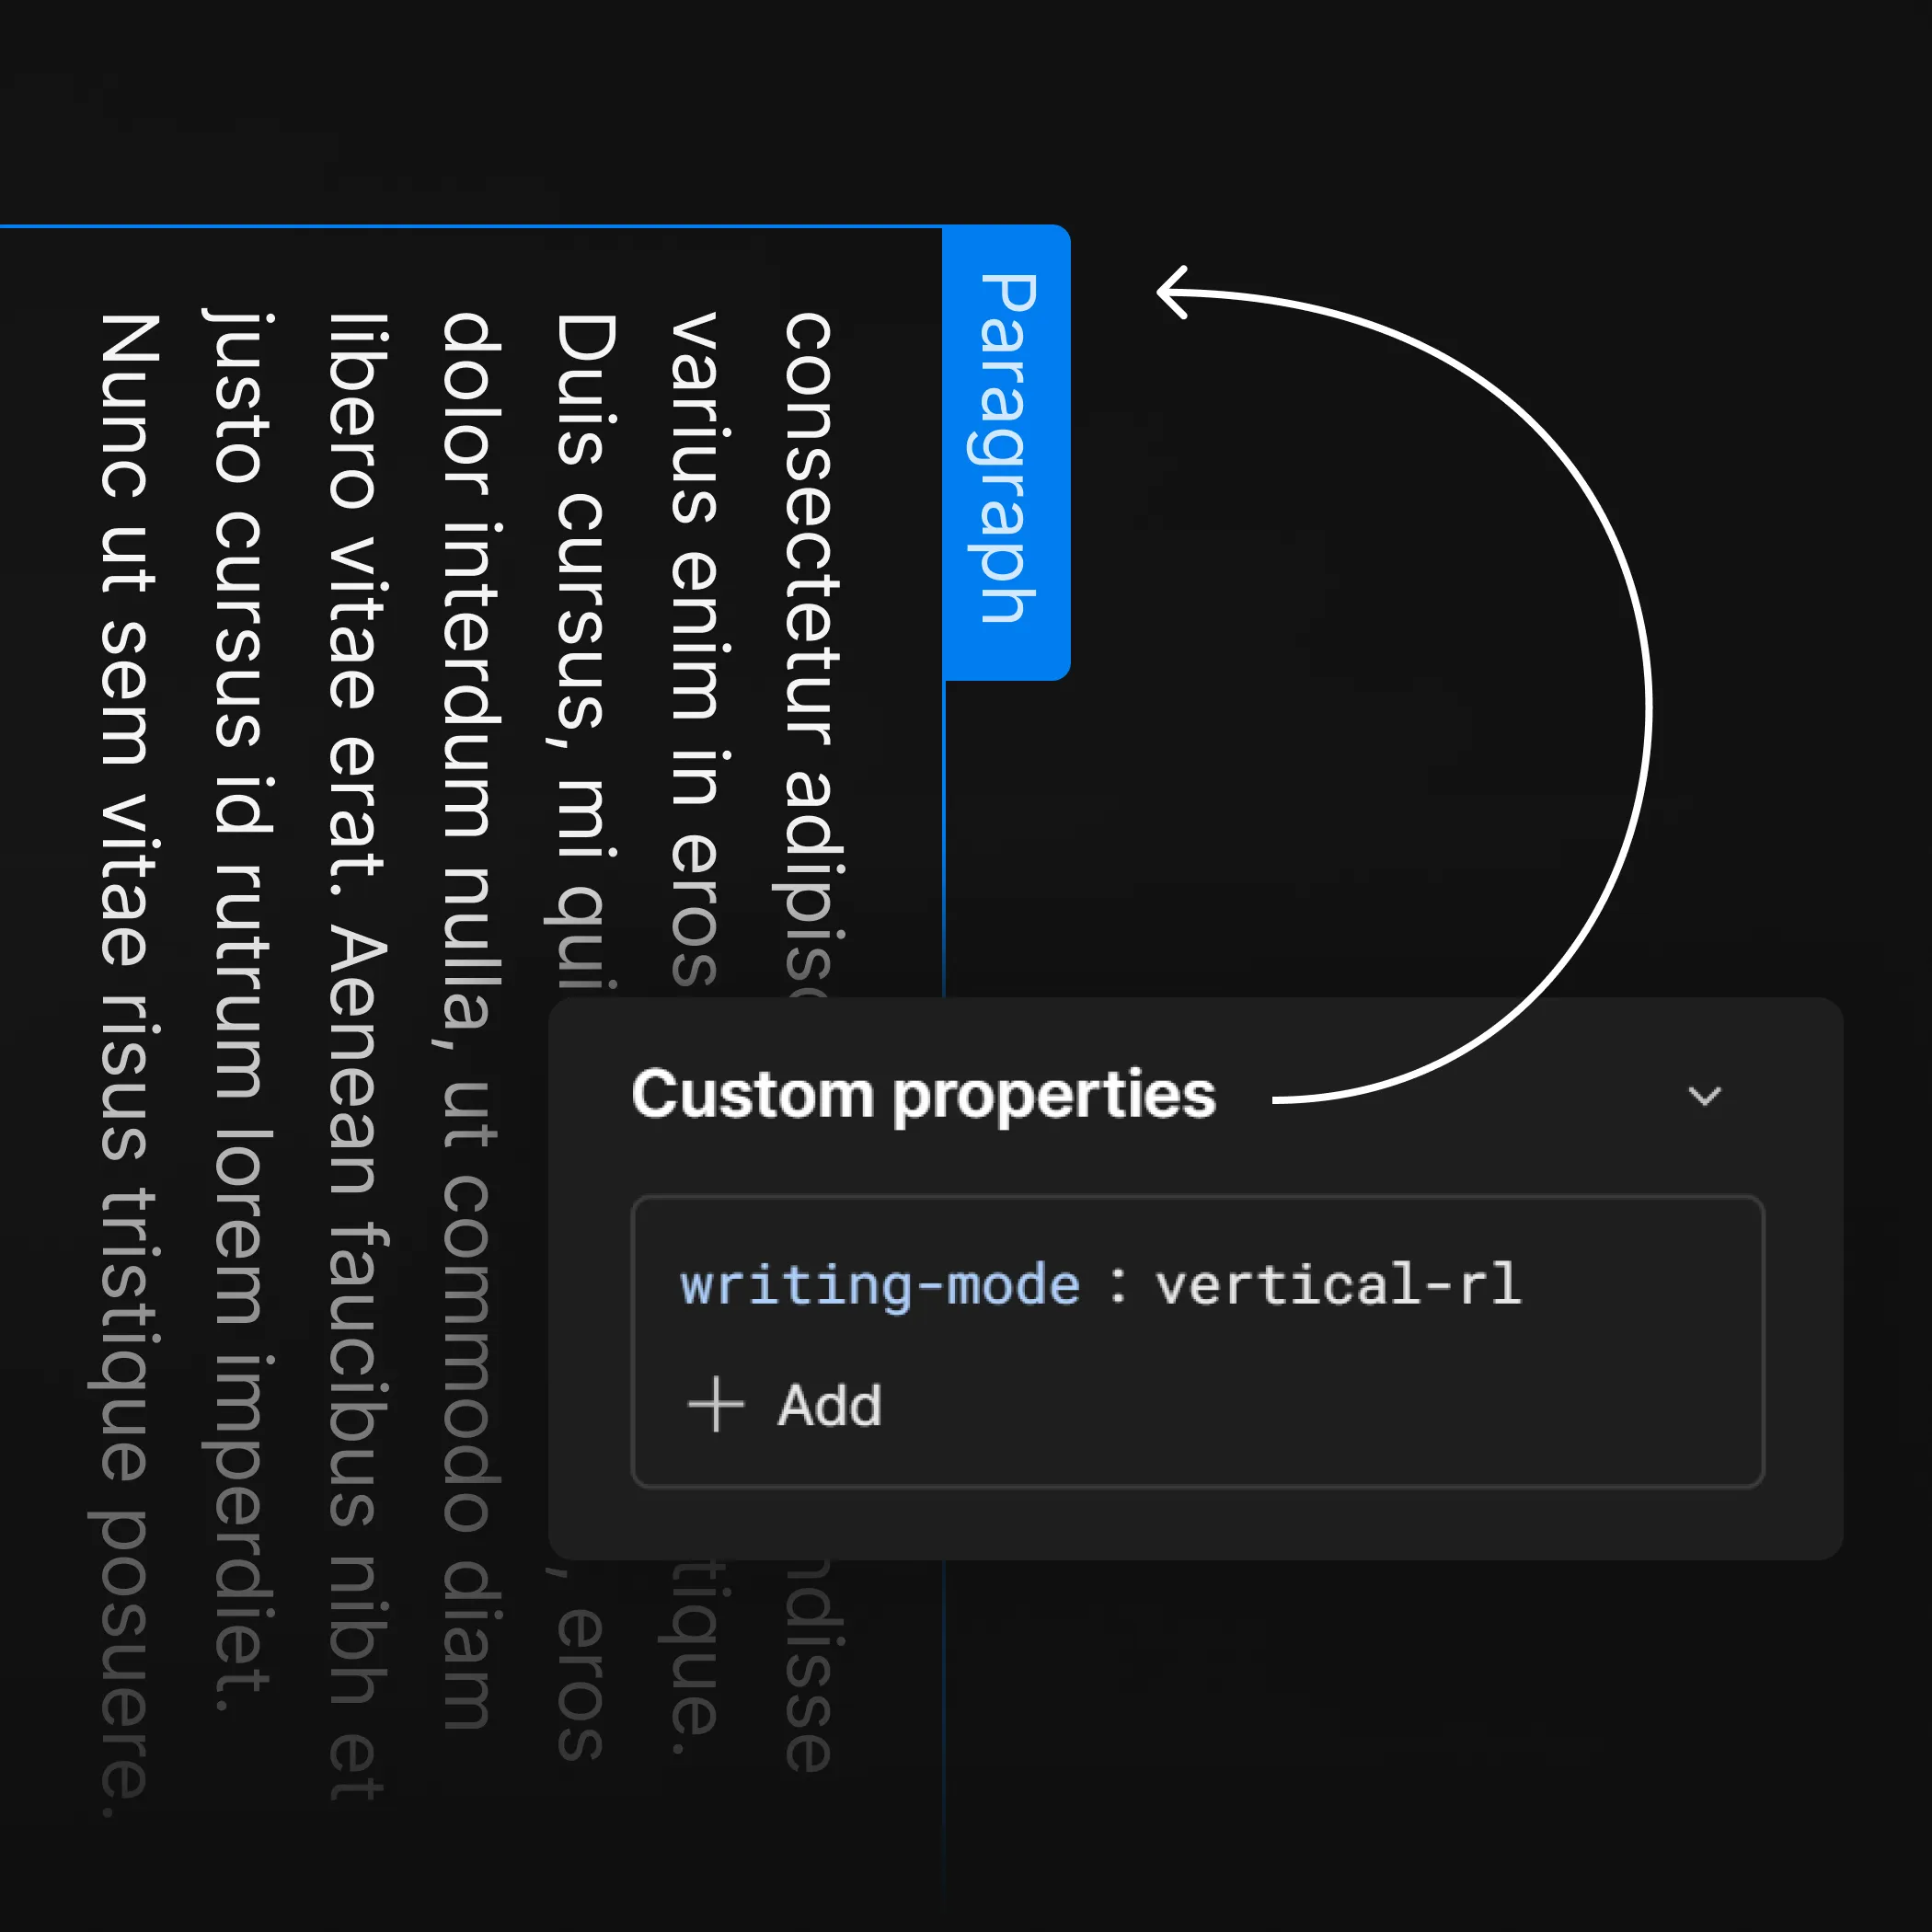
Vertical Text
Up your Webflow game by adding custom CSS properties.
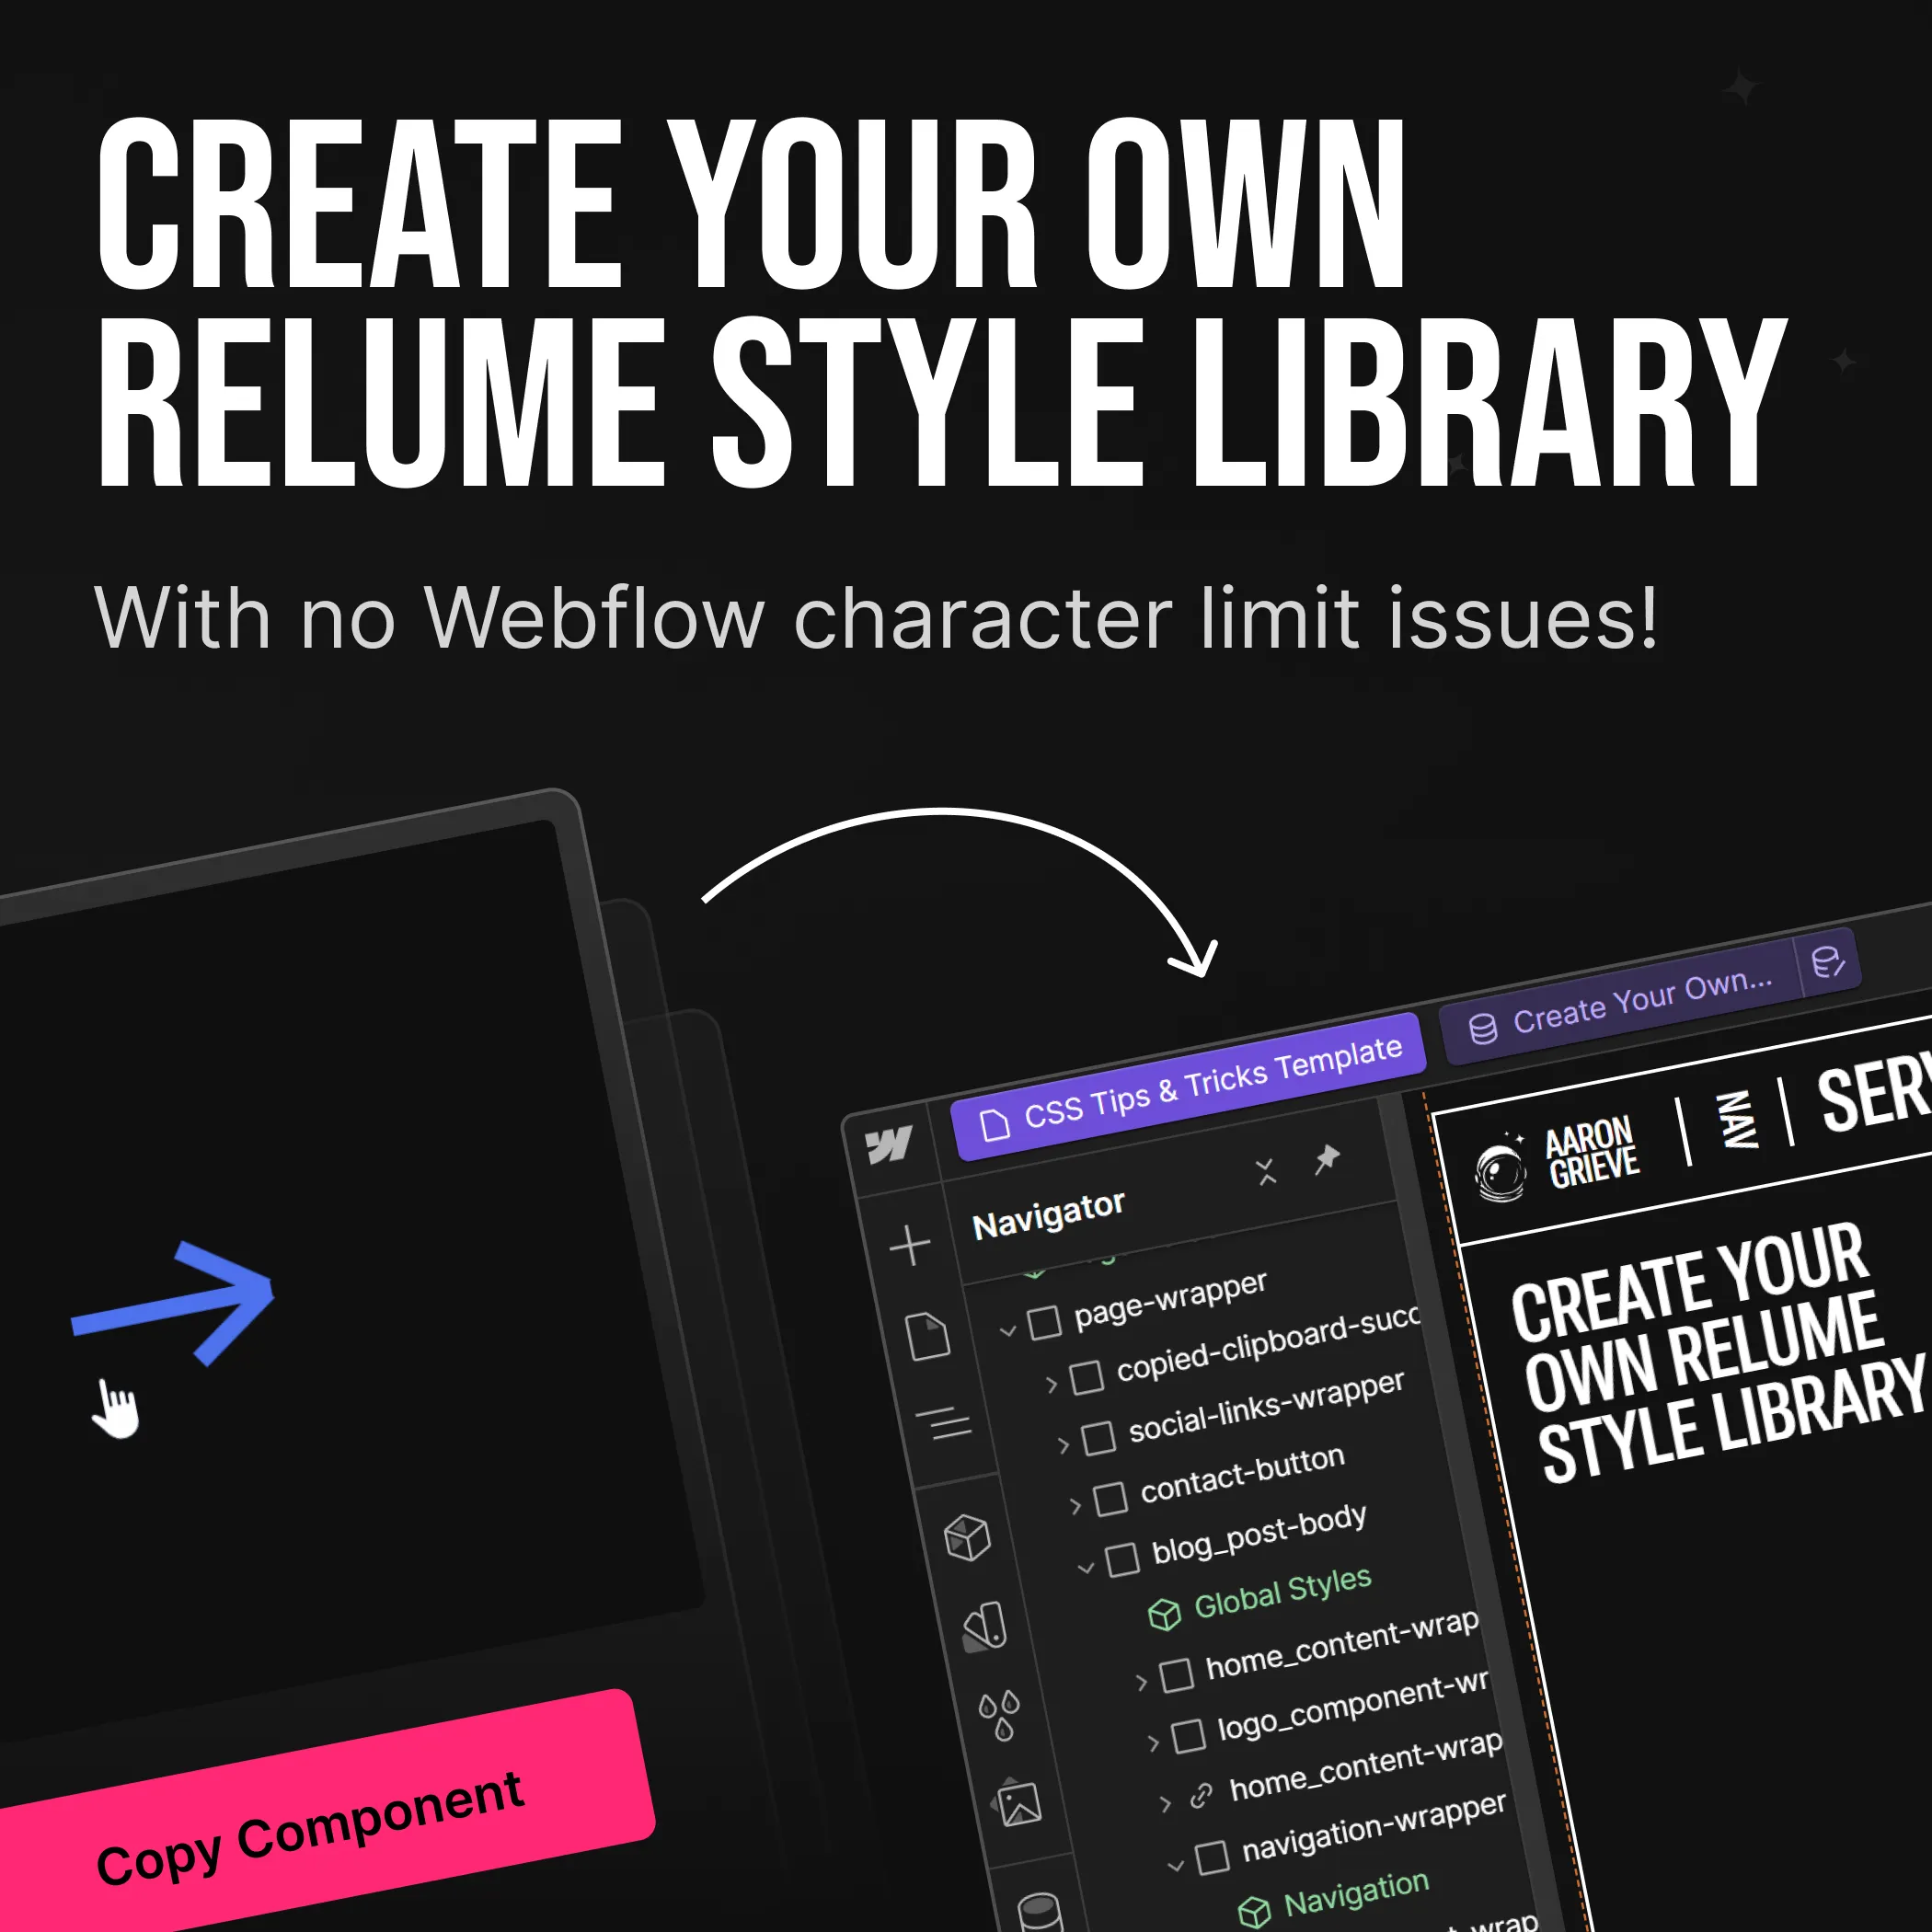
Many Webflow users have posted tutorials on how to create your own copy/paste library similar to Relume.io, but one issue that keeps showing up is Webflow's 5,000 character limit on embeddable code, but we can avoid the limit by using custom attributes!
CMS STRUCTURE
Before we get down to the steps you'll need a CMS Collection, with a "text field", call it something like "JSON Data". After you've added that, let's move on.
STEP. 1
Add the following script to your Webflow pages closing </body> tag. I won't bore you with how this works, just know that it does!
1  <script>
2  document.querySelectorAll('.object-clone-btn').forEach(item => {
3    item.addEventListener('click', event => {
4      event.preventDefault();
5      let data = item.dataset.json; // Get JSON from button's data-json attribute
6
7      console.log("Button clicked");
8      document.addEventListener('copy', event => {
9        console.log("Object copied");
10        if (event.clipboardData) {
11          event.clipboardData.setData('application/json', data);
12        } else if (window.clipboardData) {
13          window.clipboardData.setData('application/json', data);
14        }
15        event.preventDefault();
16      }, true);
17      document.execCommand('copy');
18    })
19  })
20  </script>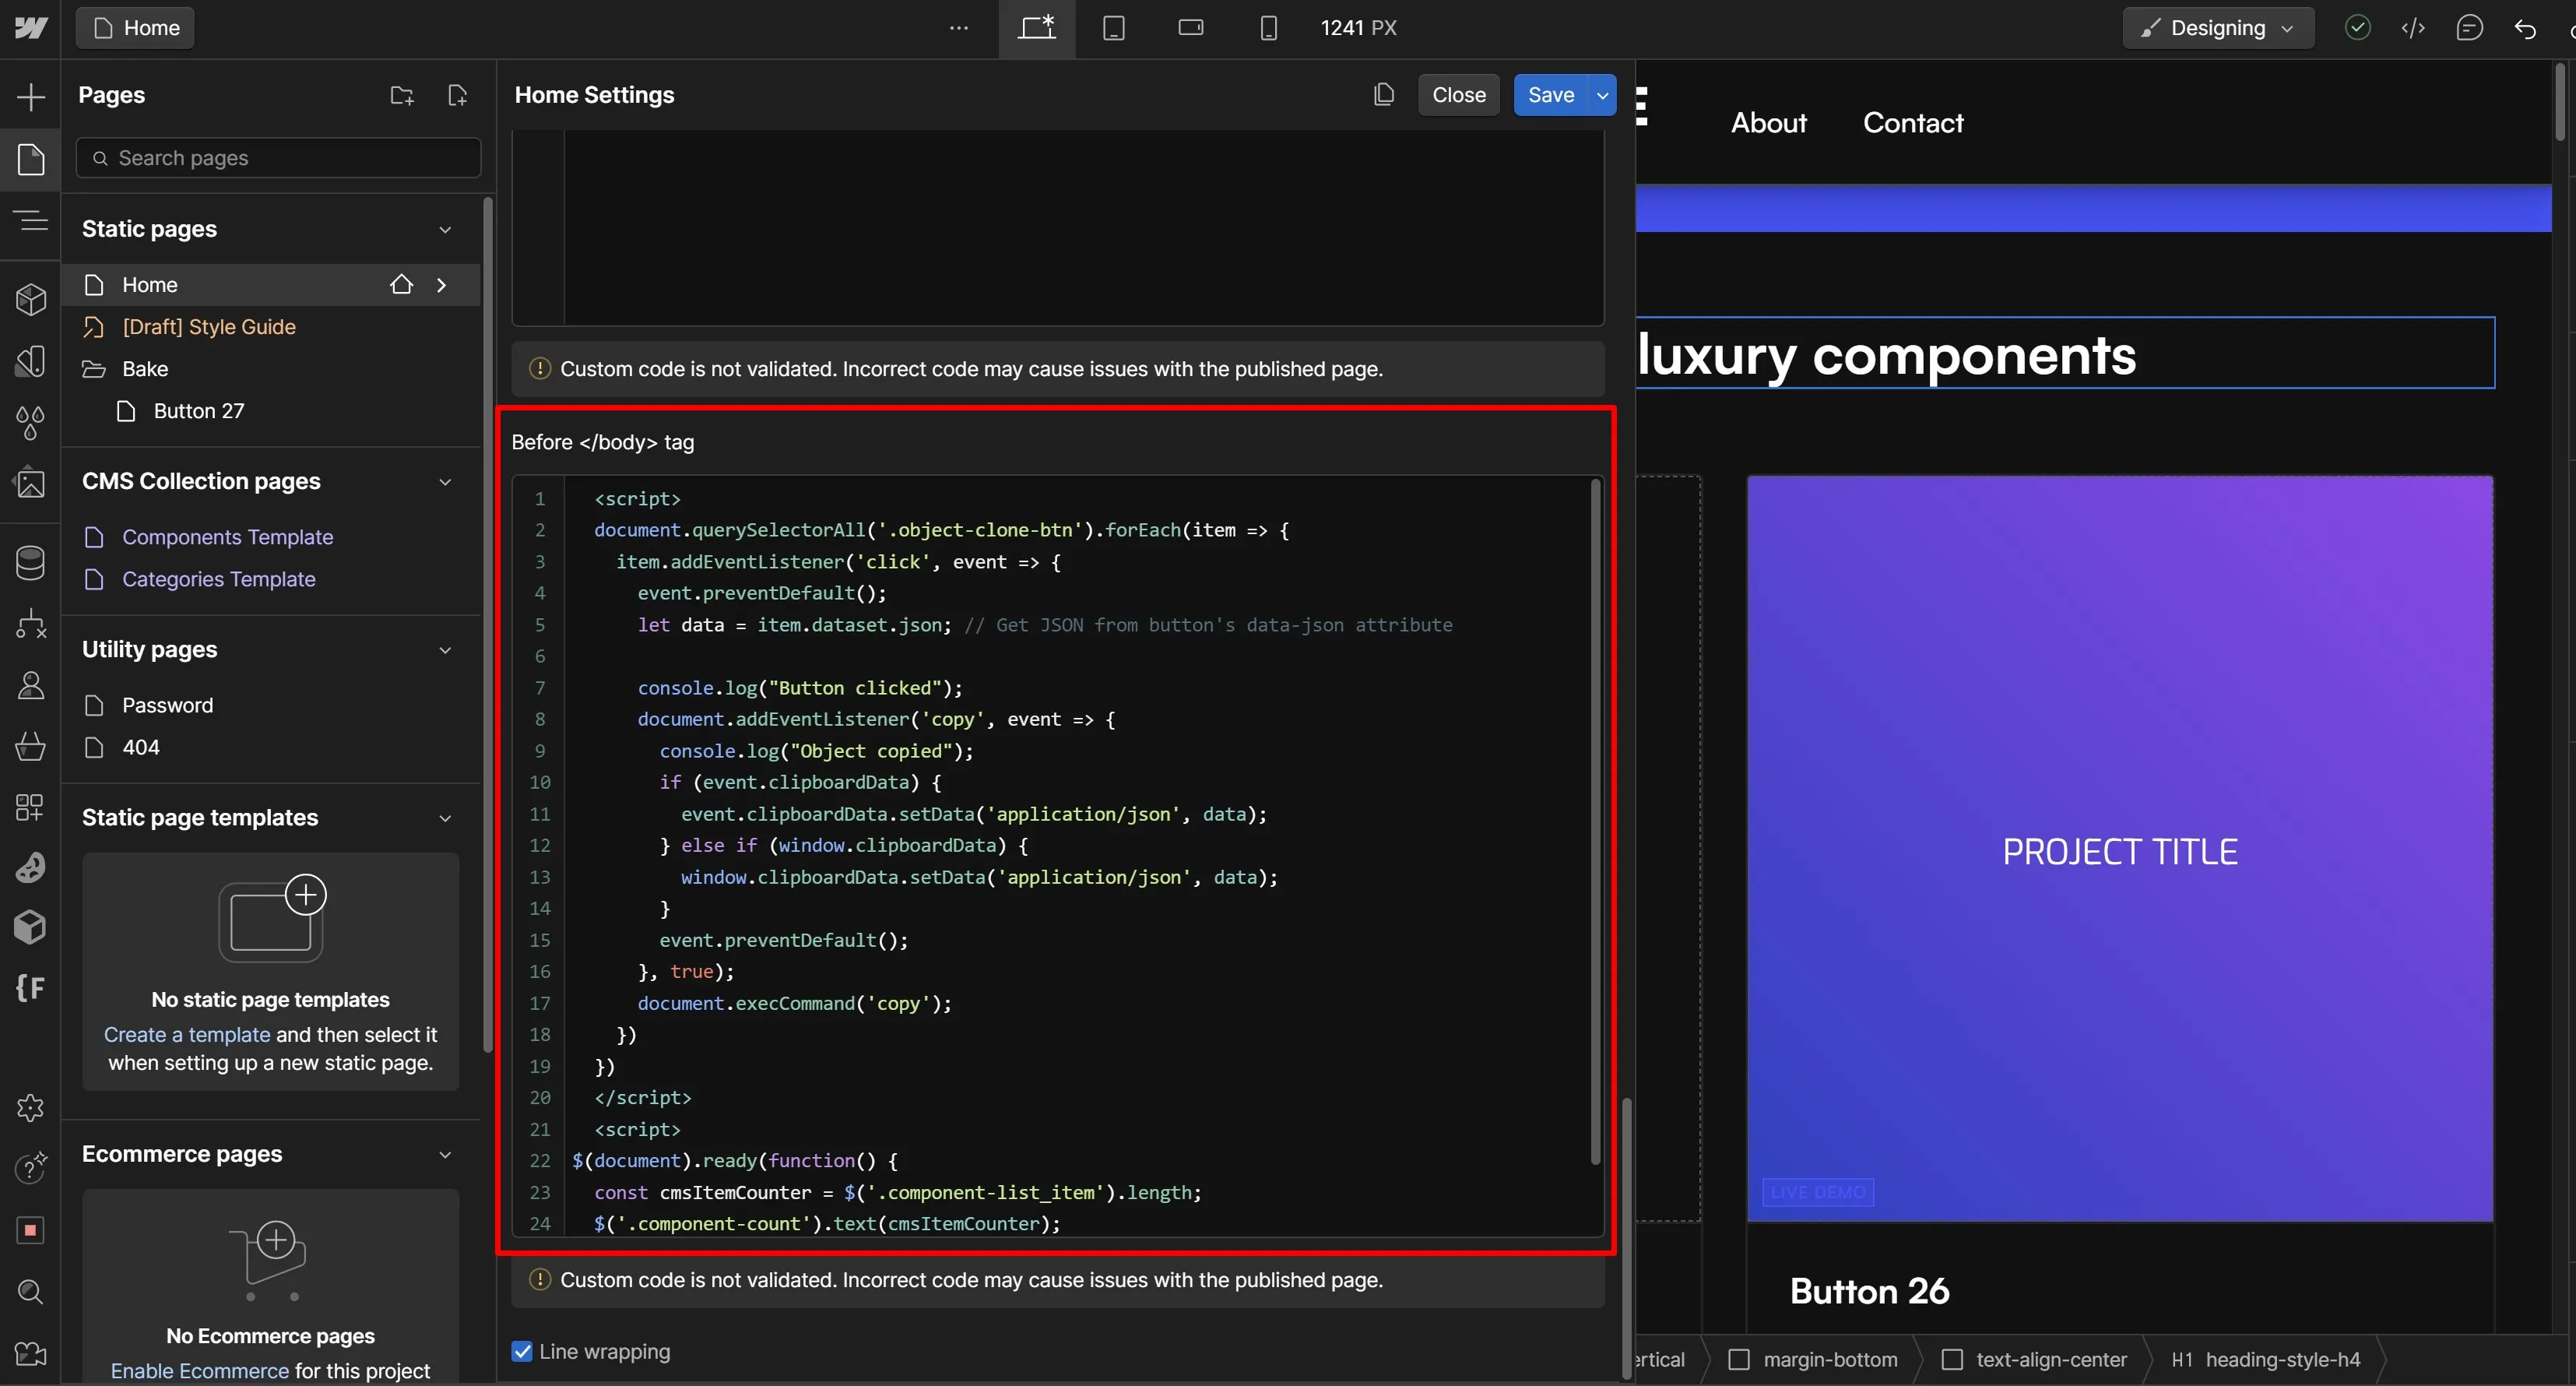
STEP. 2
Next we need a button in our Component Collection Item, give it a class "object-clone-btn". It doesn't have to be the only class, as in my example below I simply added it as a combo-class.
object-clone-btn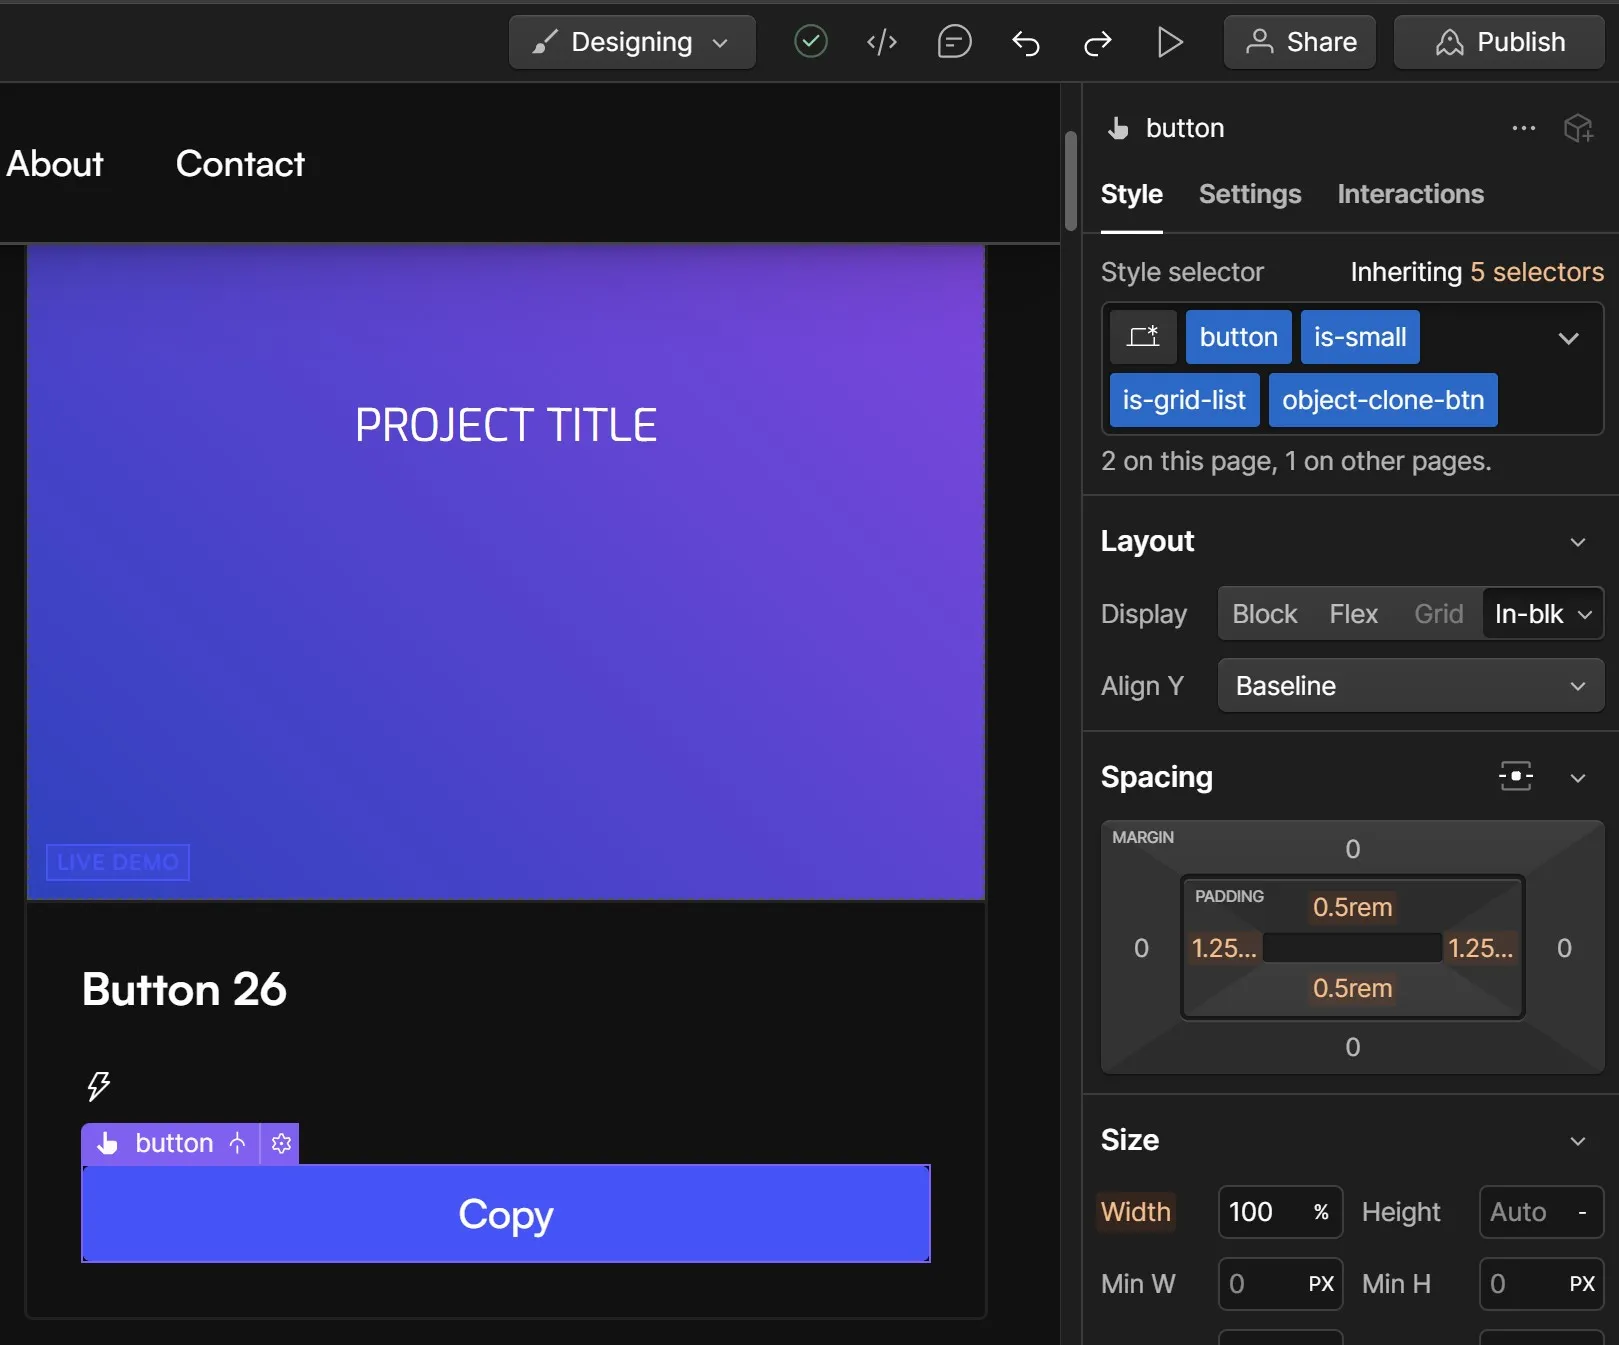
STEP. 3
On the afore mentioned button we're going to add a custom attribute! This is where we bypass the 5000 Webflow character limit.
With your button selected, open the "Settings" panel on the right, scroll down to Custom Attributes and we're going to add one using the plus icon.
Name it "data-json"

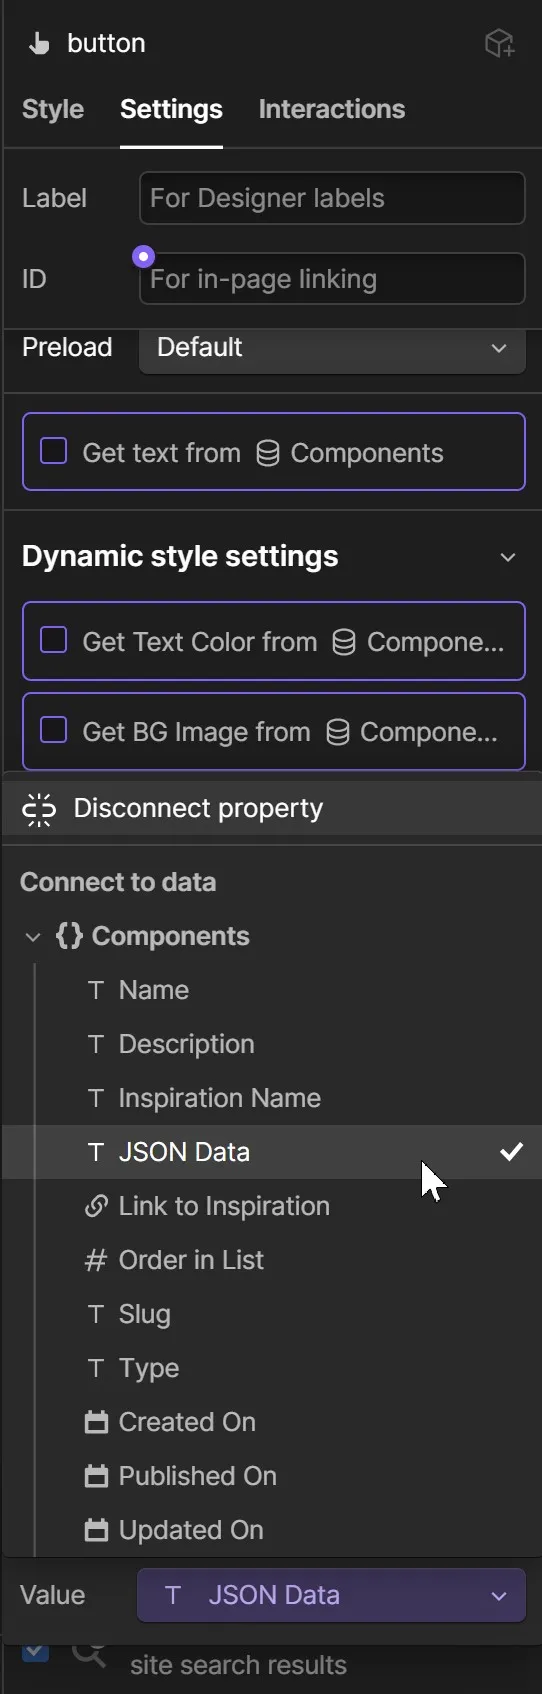
And the value we're going to attach is from the CMS Field we named JSON Data, pictured below.
STEP. 4
Publish it! You're done, go test it.

Mastering Text Selection Control with CSS user-select: none
Have you ever encountered elements on a website that you simply couldn't select or highlight? Perhaps you tried to copy a snippet of text or drag your mouse over a paragraph, only to find that the selection was stubbornly disabled. This behaviour is often achieved using the CSS property user-select: none.
In this post, we'll delve into the world of user-select: none, explore its use cases, and discuss the potential impact on user experience (UX).
What is user-select: none?
user-select: none is a CSS property that controls whether users can select text within an element. When applied, it prevents text from being highlighted, dragged, or copied. This can be applied to specific elements or entire sections of a webpage.
Why Use user-select: none?
There are a few legitimate reasons to use this property:
- Preventing Accidental Selection: In certain scenarios, you might want to avoid users accidentally selecting text while interacting with elements, such as buttons or interactive components.
- Protecting Content: In some cases, you might want to discourage users from copying or reusing content, although this should be used with caution (we'll discuss this later).
- Custom Cursors: When designing custom cursors, user-select: none can help prevent the default text selection behavior from interfering with your custom cursor's appearance.
How to Use user-select: none
Step.1
Select the text element you will apply this rule to.

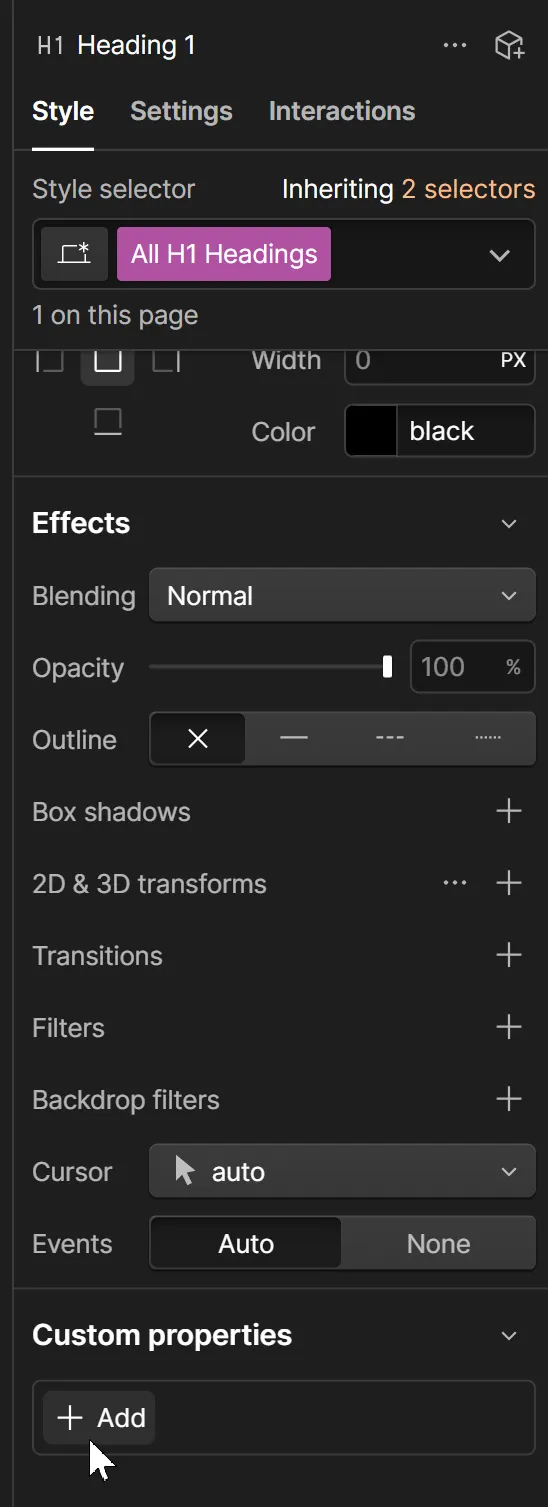
Step.2
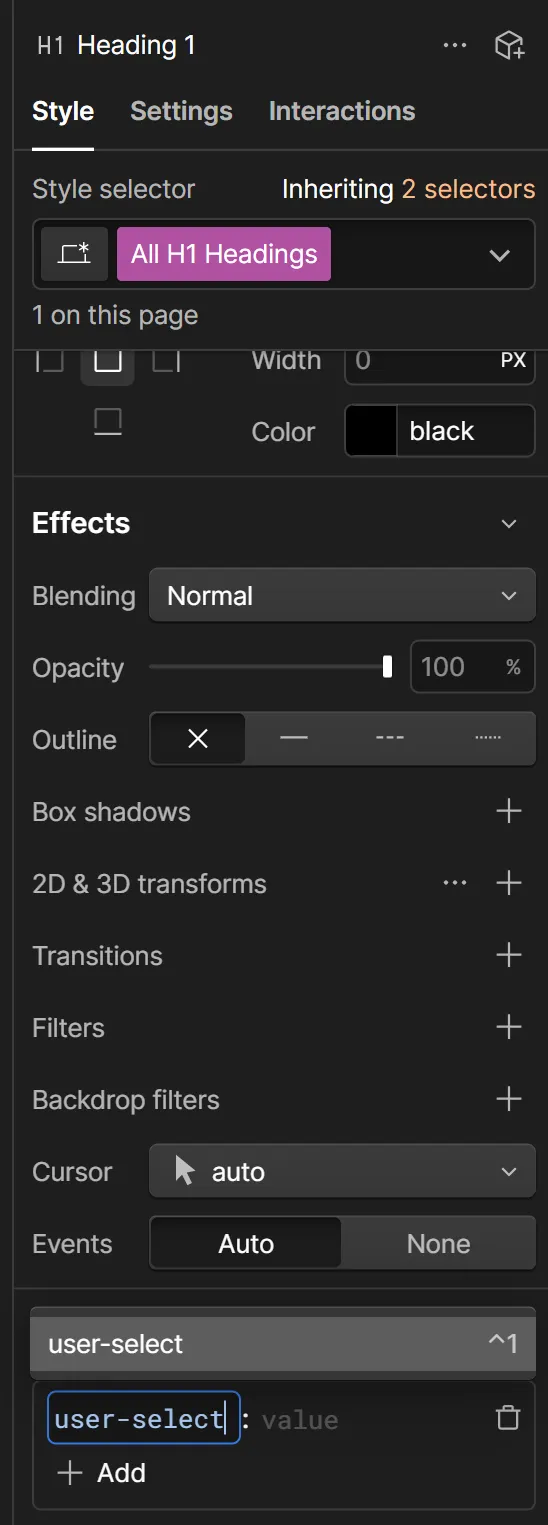
Navigate to the Styles panel on the right hand side. Scroll all the way down to the bottom and you’ll see Custom properties.
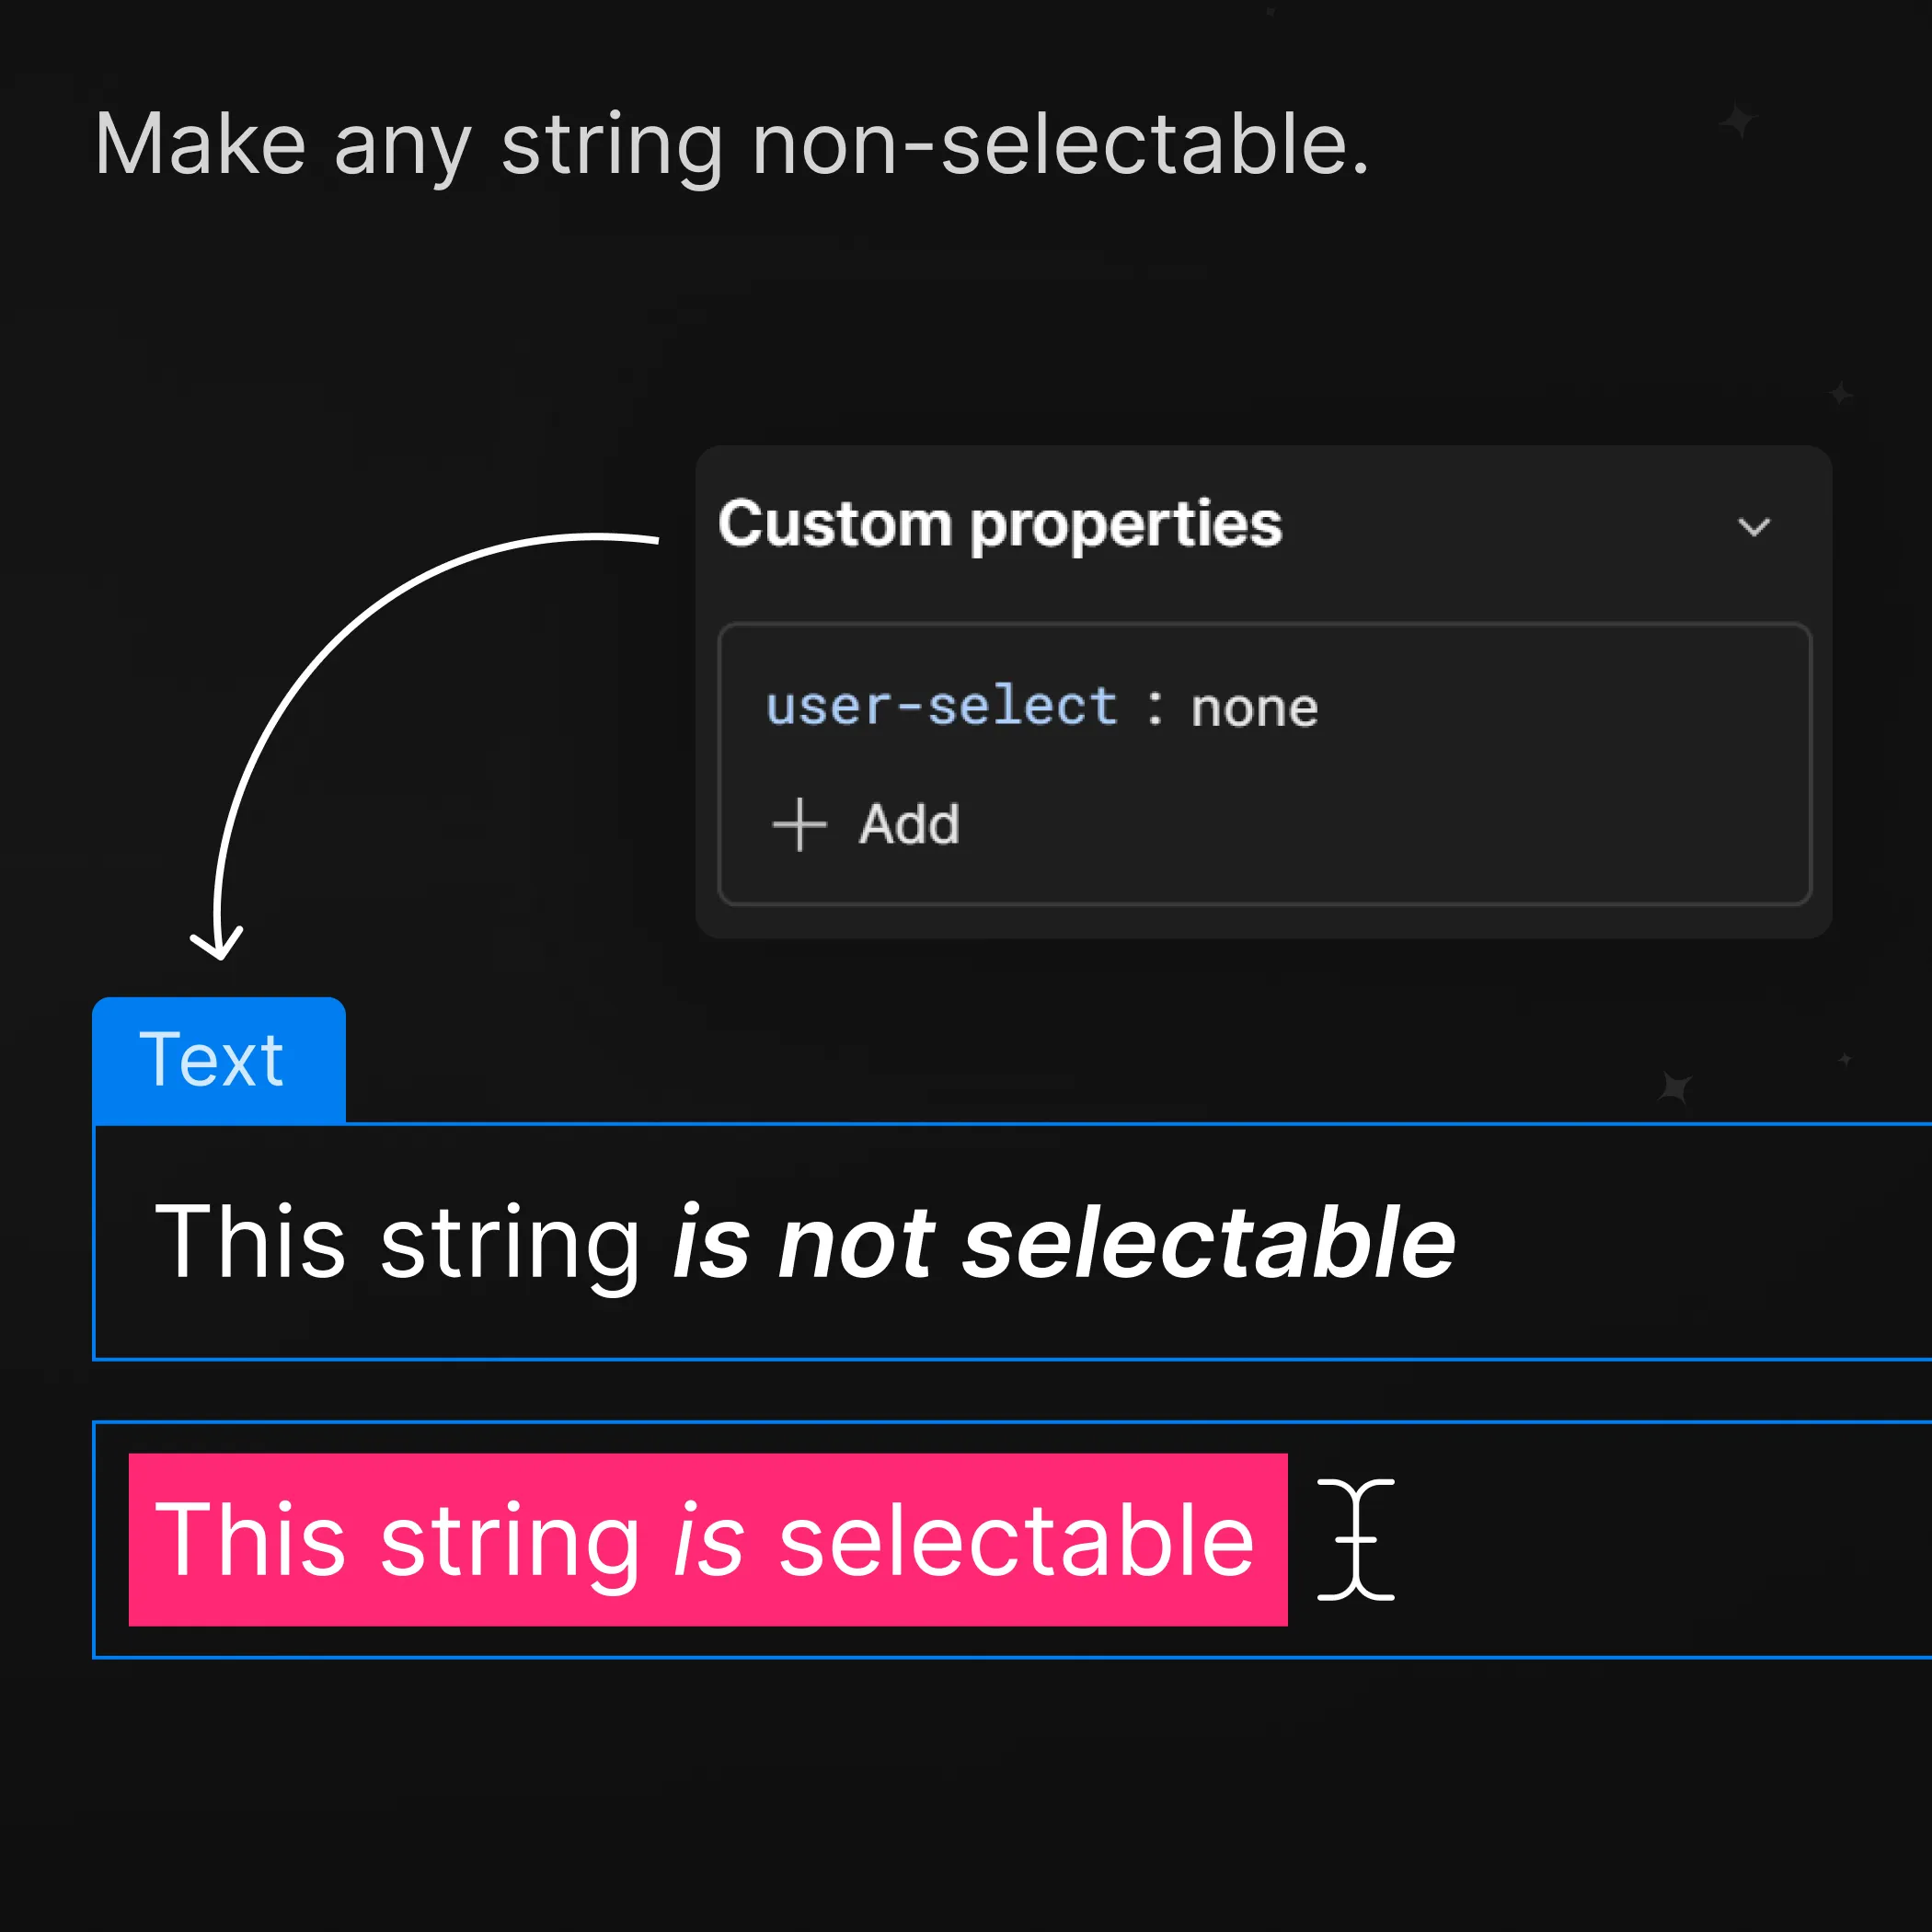
Step. 3
Click on the “+Add” button and type in to the properties field “user-select”, hit return/enter to select this property.
Step.4
With the property set, you can now add a value.
So for this tutorial I’m using the value “none”, which as it sounds, the user can not select the text. But below are a few more options and some use cases.

Other Options
user-select: contain;
Behavior:
- Enables text selection to start within the element, but the selection is constrained to the bounds of that element and its descendants. Even if you double-click or context-click within sub-elements, the selection will be limited to the highest ancestor with this value.
Use Cases:
- Useful when you want to allow selection within a specific container but prevent it from extending beyond that container.
user-select: all;
Behavior:
- Allows the entire element's content (including all its descendants) to be selected with a single click instead of requiring a double-click.
Use Cases:
- Simplifying text selection for users, especially on touch devices where double-clicking might be less intuitive.
- Creating a custom selection behavior for specific elements.
Considerations and UX Impact
While user-select: none can be useful, it's crucial to consider its impact on user experience:
Frustration:
- Preventing users from selecting text can be frustrating if they want to copy or highlight content for their own purposes.
Accessibility:
- Disabling text selection can negatively impact users who rely on screen readers or other assistive technologies.
Conclusion
The user-select: none property can be a powerful tool in your CSS arsenal. However, use it judiciously and prioritize the needs and expectations of your users. By balancing functionality with usability, you can create a positive and accessible experience for everyone.
Let me know if you'd like more tips or examples on using CSS to control text selection!